Are you thinking of masking or dying your discolored carpet? Are you looking for a step by step guide on how to get it done? You came to the right place. Dyeing your carpet is often recommended as the first solution for a discolored carpet.
You can dye your carpet in just a couple of easy steps that include verifying your carpet material, removing your furniture, thoroughly cleaning your carpet, protecting your walls, stabilizing your carpet, mixing the dye, determining your spray coverage, spraying your carpet dye and allowing it to dry.
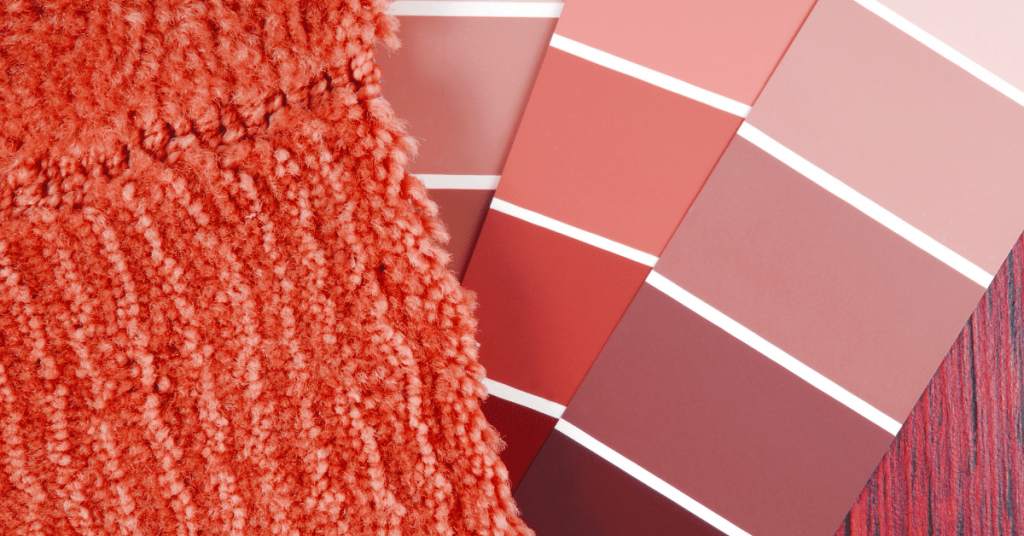
Even with regular cleaning and vacuuming, your carpet will still lose its color and look older before its time. Nothing dates a carpet more than discoloration and a crafty alternative like dyeing your carpet if more cost-effective than buying a new one.
Re-coloring your carpet when done with a quality carpet dye will affordably cover up all the stains and discoloration, hence bringing your carpet back to life and making it look as good as new.
PRO TIP
DO A TRIAL DYEING
Test on an unnoticeable small area like where a couch will be replaced to have an idea of the end result.
5 Tips on Carpet Dyeing
Here are a couple of tips that you might find useful if you want to dye your carpet:
Tip 1
Remember to choose a darker color because to get the best result after dyeing your carpet, the color of the new dye to be applied must be darker than the original color of your old carpet to cover the stains. The dye color should also be darker than the color of the stain on the carpet.
Tip 2
Luckily enough, there are various options of color-fast and fade deterrent supplies available in every color for homeowners who are handy and want to dye their carpets on their own.
Tip 3
There are over 70 colors of carpet dyes available in the market and since they are powdered dyes, it means that mixing with more or less water can help to adjust its color depth.
Tip 4
You can easily find quality dyes at carpeting stores, home centers, and even online stores but ensure to read on to know how to dye your carpet before jumping into it.
Tip 5
You may also need to remember that a darker carpet cannot be converted to a lighted shade using this process and the color you get may not quite be the same color on the package
Materials and Tools Required
To install a new carpet or replace an existing old carpet, you may need all the materials listed below.
– Carpet dye
– Protective gloves
– Vacuum
– Scissors
– Carpet steam cleaner
– Paint sprayer
– Funnel
– Bucket
– Masking tape and paper
– Pry bar
– Fire extinguisher
– Bristled brush
Carpet Dyeing Step by Step Guide
Carpet dyeing can seem like a very overwhelming task, but when done with the right tools, it is pretty much a very enjoyable task. The following steps will guide you through the process of carpet dyeing.
Step 1: Verify Your Carpet
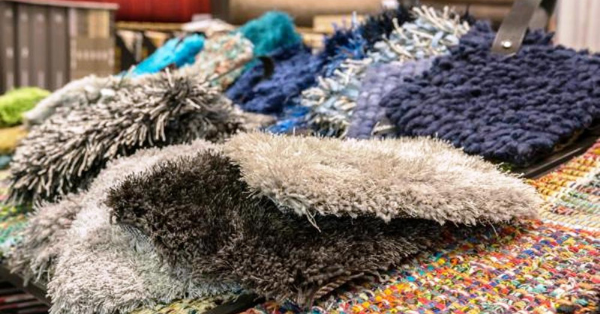
Since only wool and nylon carpets can be dyed, it is important to verify the material with which your carpet was made. If it is hard for you to know or you probably do not remember, here is a simple technique to help you.
Cut a little clump of your carpet fiber and set it on fire atop a ceramic plate and observe what happens next. If it was made from wool, it will smell like burning hair and burn slowly due to the fire-resistant nature of wool.
A carpet made from nylon will create plastic-like beads as it melts under fire and then curls up to form a solid matter. If you are still unable to determine the carpet material, cut a square inch of your carpet from an inconspicuous area and take it to a flooring center for expert judgment.
Step 2: Remove All Fittings and Accessories
You should not be dyeing your carpets with your furniture still in place. Remove every piece of furniture from the carpet including the baseboard molding which should be removed with a pry bar.
If you intend to reuse the baseboards, you should be careful not to damage them. Conversely, installing new baseboards when a carpet is dyed is advised to have a truly updated room.
You could also decide to give your old baseboards a fresh coat of paint if you do not want to replace them completely.
Even though you may not necessarily need to remove the baseboards before dyeing your carpet, it is advisable to do so. This will ensure that the paint job extends to the walls.
You do not need to be worried about color bleeding along the wall if you remove your baseboards because they will cover them adequately when they are re-installed.
Step 3: Vacuum Thoroughly
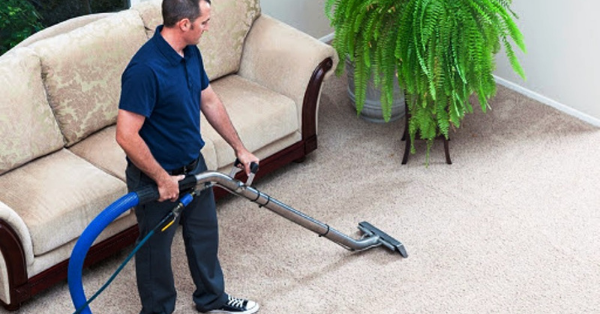
Before you vacuum your carpet, ensure to empty the vacuum or replace the bag. This is because when the unit is almost full, its suction ability will be reduced. Also, it is important to note that the cleaning method is dependent on carpet material.
A nylon carpet is often cleaned using a commercial steam cleaner which can be rented from home centers. On the other hand, cleaning a wool carpet is better than done by washing –or shampooing- rather than steam cleaning.
Professional carpet installers have the right tools and chemicals for the job and they can help you stabilize the carpet if you tell them about your intentions of dyeing it. This will allow you to skip the instruction in step 5.
PRO TIP
TAKE NOTE
Pay attention to the narrow corners while cleaning and leave the carpet to dry thoroughly before dying
You can also apply stain removal chemicals and scrub the carpet thoroughly to remove stains or dirt using a scrub brush or a sponge. When a carpet is clean, it absorbs dye evenly.
In all that you do, make sure that the carpet is clean before you progress.
Step 4: Protect the Walls
Before you get so excited and pump the spray gun, ensure that the walls are protected from overspray or you will regret it afterward. With your masking paper and masking tape, cover the edges of the wall that are most exposed.
Getting dye off your stained walls is a difficult and sometimes an almost impossible task to take on.
Step 5: Stabilize your Carpet
This is the point where you correct any pH and alkalinity issues on your carpet. These issues might have occurred as a result of steam cleaning your wool carpet in the past or mess made by your pet.
Sometimes you may not remember such events so it is advisable to just assume that there is an imbalance in your carpet. Skipping this step could result in an uneven spread of your dye when the work is done.
A good stabilizer can be purchased from the same home center or carpeting stores where you bought the dye. This process should be done wearing work gloves and in an adequately ventilated room.
Step 6: Mix the Dye
Following the manufacturer’s direction spread out a piece of masking paper underneath a bucket wherein the dye will be mixed, while enduring that the windows are still open.
Carpet dyes are often acidic which means that they have to be diluted with hot water before application. With hot water of about 1800F in the bucket, pour your dye and mix immediately while you have your gloves on.
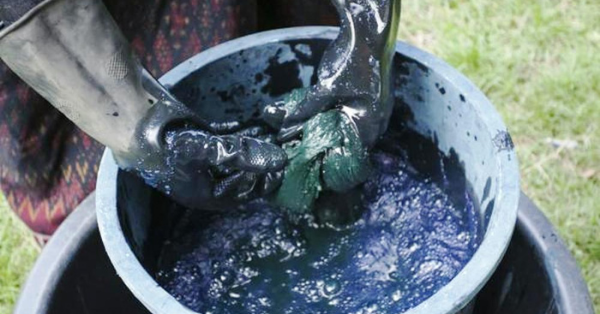
Twenty ounces of powdered dye is expected to cover up to 1,000 square feet of the carpet but this may vary depending on the manufacturer and the product.
Step 7: Determine Your Spray Coverage
Close up the sprayer, shake it a bit, and then do a test spray on an inconspicuous area that would later be covered by furniture.
The spraying should be done from one to two feet away so you can gauge the spay coverage. If you are not comfortable with the coverage, you can adjust your position until you find a level of coverage that you like.
When you find a satisfactory level of coverage and have estimated the best distance to spray from, you can then go ahead to spray the rest of the room.
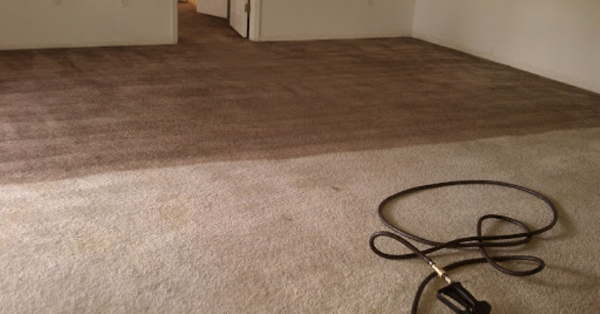
Step 8: Spray Dye and Brush It In.
To have an exit at the end, the spraying should begin at the corner that is opposite your door. It should also be done at arm’s length at a time since you will also be required to brush-in the dye.
After brushing in the dye at each section, assess the application by standing back to have a better view of the work done so far. If you notice that it appears uneven, adjust, and mix more dye as you progress.
Step 9: Leave to Dry
Once the carpet dyeing process is complete, allow it to dry. Manufacturers have a suggested drying time for their dyes but you are advised to dry your newly dyed carpet for at least 24 hours.
When you are certain that your carpet is dry, replace the baseboards and your furniture either in the same position or in a completely different one to give your home a new look.
Conclusion
If your carpet color still looks good to you and your only intention of dyeing it is to cover up a stain, consider leaving the hob for an expert who has adequate experience and knowledge in such matters.
Also, if you aren’t confident enough to give dyeing your discolored carpet a try, or you fear that you may end up with uneven results, there are professionals here for you. Just( click here)
