Are you thinking of patching your damaged carpet? Are you looking for a step by step guide on how to get it done? You came to the right place. Patching your carpet is often recommended as the first solution for a scratched or stained carpet.
When a hole has been dug on your carpet or your dog had scratched up your carpet, it becomes an eyesore and you begin to wonder if there is anything that can be done to fix it.
Carpets can be patched in 8 easy steps which include assessing the damaged carpet, getting a donor carpet, marking the damaged area, cutting out the damaged area, cutting out the donor patch, finding the nap direction, applying carpet tape, and blending the patch.
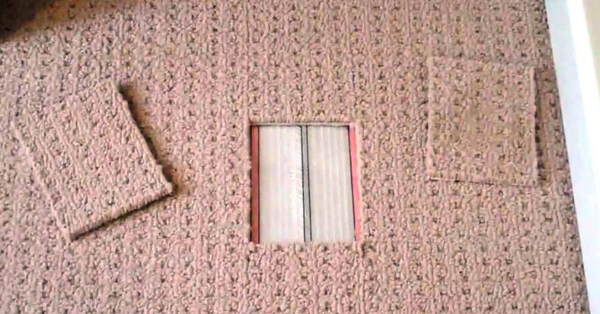
Carpet patching is an economic and the most effective way to fix a damaged carpet if you do not intend to or have the funds to replace it.
It is simply a process whereby the damaged area is carefully cut out and replaced with a piece from a donor carpet of the same size.
It may not be the perfect solution because the donor area is usually left unrepaired or filled with a piece of remnant carpet but it sure is an economical hack.
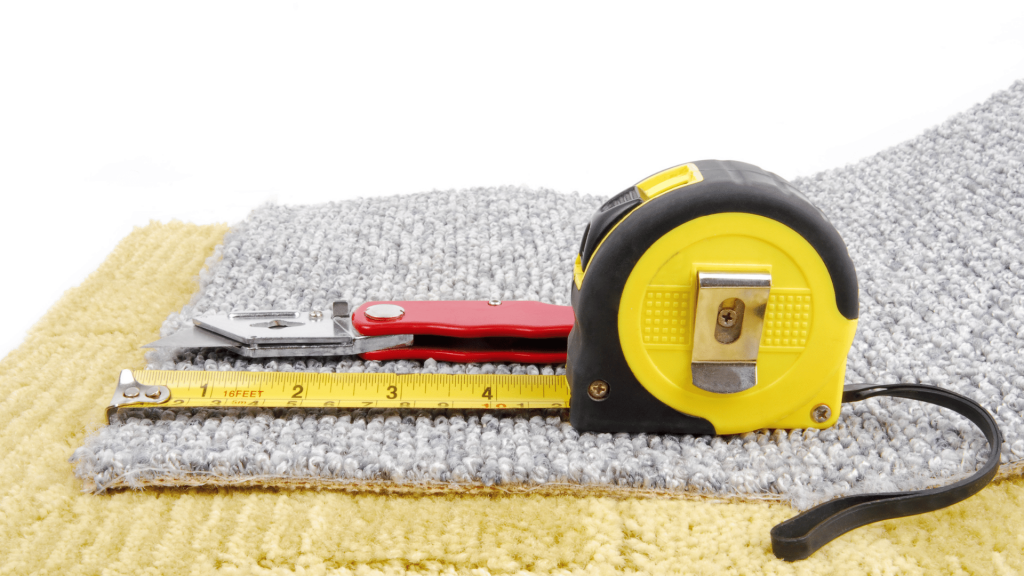
Tools and materials needed for Carpet Patching
To dye your carpet, here are some of the tools and materials you may need to get the job done properly.
To install a new carpet or replace an existing old carpet, you may need all the materials listed below.
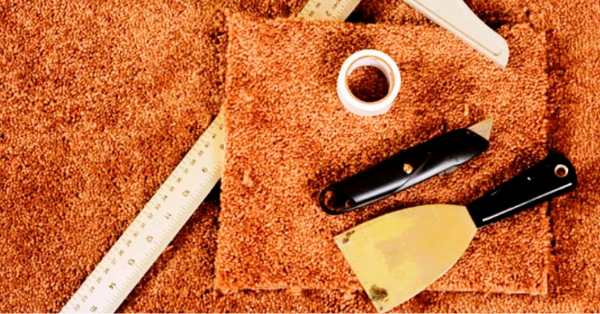
– Seam roller
– Utility knife
– Donor carpet
– Carpet tape
– Ruler
Carpet Patching Step by Step Guide
Step1 : Assess the Damaged Carpet
Carpet patching is most preferred when there is a small region of damaged carpet to be fixed. A carpet is mostly referred to as damaged when it has been frayed, stained beyond cleaning, scratched, torn, or scorched by fire.
This method of carpet fixing is mostly effective for small spots of about 1 square foot or less. If the damaged region is large or the spots to be patched are many, re-carpeting the entire room should be your next option.
So ensure to do the necessary assessment of the extent of damage on your carpet before making the decision.
Step 2: Step 2: Get a Donor Carpet
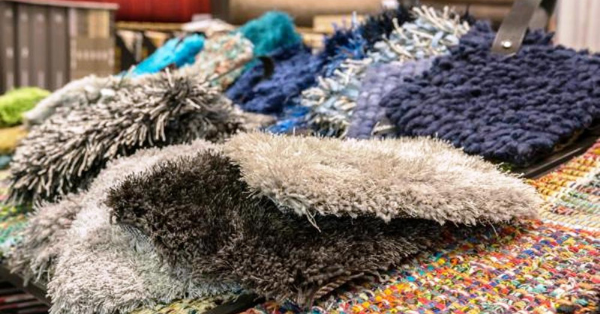
Your choice of a donor carpet should be a carpet that is of the exact type and color of the damaged carpet because anything other than that will be glaringly obvious; even if that patch is almost the same in pile or color.
The best thing to do is to try getting a donor patch from the unused remainder of the same carpet. You may be lucky to find a leftover from when you installed your carpet originally. They just may be laying around in the attic, store, basement, or even the garage.
In case you couldn’t find any, going to the store where you purchased it should be your next option. They have information about your order on file regarding the brand, color, and type. They’ll be willing to sell you remnants of the same carpet.
If getting a new remnant doesn’t work for you, you may decide to cut out pieces from your carpet in areas that are inconspicuous like under a piece of furniture that isn’t expected to be moved.
Other areas where you can cut from include under the beds, desks, staircases, or closets.
Step 3: Mark the Damaged Area
Establish a square making around the damaged area using a capped pen or awl. Ensure to press down the tool into the carpet while you drag it as this will help to separate the tufts and reduce the number of tufts that will be cut in the process.
Using chalk or any other marking tool may be used but definitely won’t give you the best result.
Step 4: Cut Out the Damaged Area
With the lines of the square as a guide, cut out the damaged area on your carpet using a utility knife. Avoid the tufts as much as possible and carefully cut out only the backing of the carpet.
If after cutting out the barking of the carpet you still find fibers attached, do not pull them away by hand, rather cut them with the knife.
Step 5: Cut Out the Donor Carpet
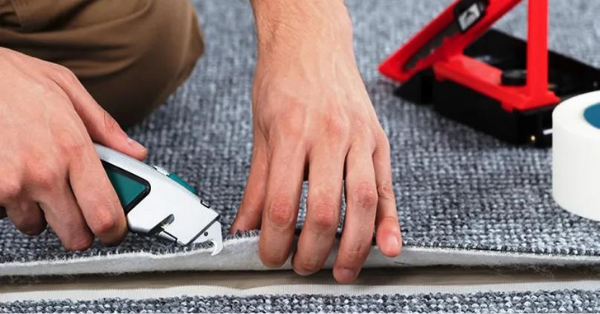
Lay the cut-out piece you obtained from your damaged carpet over a selected area on your donor carpet and using it as a guide, draw around it using a capped pen or awl.
As earlier mentioned in the preceding step, ensure that you avoid the tuffs and cut out only the backing of the carpet.
Step 6: Find the Nap Direction
Carpets were manufactured with their naps running in one direction. You can determine which way your carpet nap naturally lies by running your hand over it in different directions.
The only downside of this simple hack is that it may not work with trackless carpets or some low-pile carpets like Berber.
After establishing the nap direction on your damaged carpet, do the same for your donor carpet; then fix the donor carpet over the spot on your damaged carpet where you intend to fix.
Step 7: Apply the Carpet Tape
Carpet tape is normally very sticky and has adhesive on both sides. Due to this reason, you only get one chance to stick it rightly on your carpet. If this is done wrongly, you would have to rip it off and discard it for a fresh piece.
While leaving the protective paper on, cut out 4 strips of carpet tape for the perimeter of your patch piece but if the region to be patched is just about 4 square inches or less, two strips should be okay; with one strip on each side.
One side at a time, peel off the protective paper and apply it to the base of the carpet patch area pressing it firmly to the floor. Repeat for all four strips and press down to stick.
Step 8: Blend the Patch.
The carpet roller will come in handy at this point. Roll it across the carpet in every direction until the patch blends adequately with the rest of the existing carpet. Combs or any dry cloth ca serve as a substitute.
Be careful not to exert too much pressure at the edges to avoid ripping away essential tuffs at the edges. Scrub or roll over the edges carefully.
Finishing your Carpet patching Process
If the point on your donor carpet is an inconspicuous area in your home and isn’t obvious, you can decide not to patch it. But if you have other pieces of carpet lying around and you want to patch it, go ahead.
Conclusion
Carpet patching is the best and most effective solution to a damaged carpet and will save the cost of a full carpet replacement when done properly. Just a few readily available tools and the above steps will help you get it done.
If you do not have access to the materials or do not want t go through the process, you can always find carpet installers around you.( click here)
