If you think carpet installation is complicated and time-consuming, you should reconsider your decision. Carpet tiles are the most comfortable floor covering to install. You can install wall to wall carpeting without worrying about fitting and stretching of broadlooms of carpets. Carpet tiles are all about your requirements, décor, aesthetics, and ease.
To install carpet tiles without adhsesive you first have buy the right carpet tiles (adhesive carpet tiles, peel and stick carpet tiles, etc.), then assess the existing floor to prevent moisture, draw the base line and start installing from the center outwards. Finish by fixing the doorjambs and corners. Keep reading to find out more!
Types of Carpet Tiles
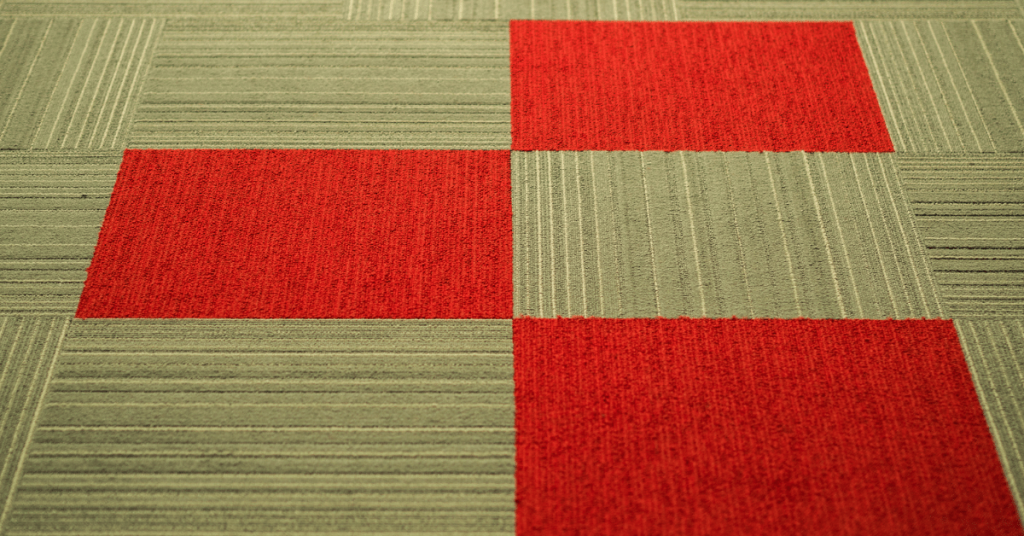
Carpet tiles are small sections of carpets, such as 2×2 feet, and are installed like a floor tile. You can find different kinds of carpet tiles in the market. Generally, there are two main categories; Adhesive carpet tiles and adhesive-free carpet tiles. In commercial settings, direct glue down carpets are more popular. For domestic purposes and house décor, most of people prefer adhesive-free carpet tiles.
1. Glue down Carpet Tiles
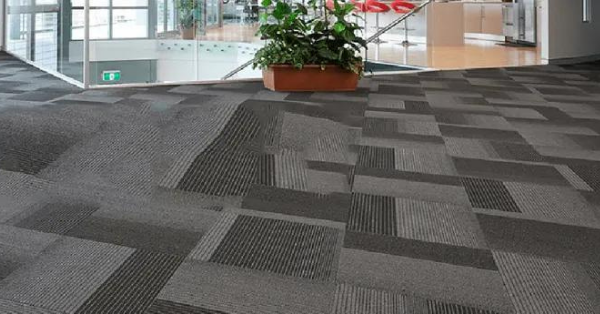
There are two significant types of glue down carpet tiles. You can glue down a carpet tile directly to the floor, or a tile can be bonded to a pad that is itself pasted to the floor.
2. Adhesive Free Carpet Tiles
Adhesive free carpet tiles are a kind of new invention, and their popularity has grown very fast. The main reason behind their popularity is the ease of both installation and removal. You can install carpet tile with a minimum amount of adhesive products and even without adhesive and can finish a floor in just a few hours. A brief overview of adhesive-free carpet tiles is given below for clarity of your mind.
3. Peel and stick carpet tiles
You can lay down these types of carpet tiles by removing the peel and sticking them directly to the floors. These tiles are specially manufactured for this purpose. You can install these carpet tiles without any professional help.
4. Cushion Backed Carpet Tiles
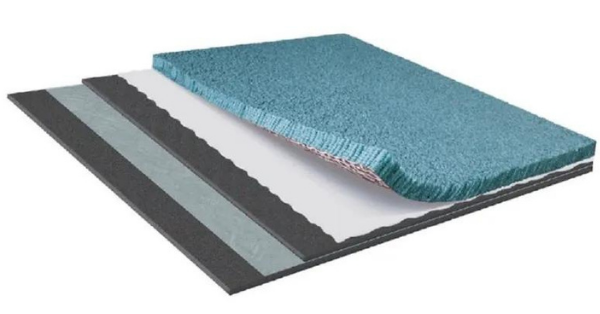
These carpet tiles are manufactured according to some rigid specifications to get a substantial way of entirely adhesive-free Carpet tile installation. Thickness and curls of corners and cups are standardized according to strict rules of manufacturing. These carpet tiles are capable of bearing the heaving foot and rolling traffic without snowplowing or shifting over adjacent tiles.
5. Stretch in Carpet tiles
Stretch in carpet installation is a less popular type when it comes to carpet tiles. However, it is the most popular in the case of broadloom carpet installation. Wood rods and nails are used to lay down the carpet tiles instead of gluing products
6. Joint and socket Carpet Tiles
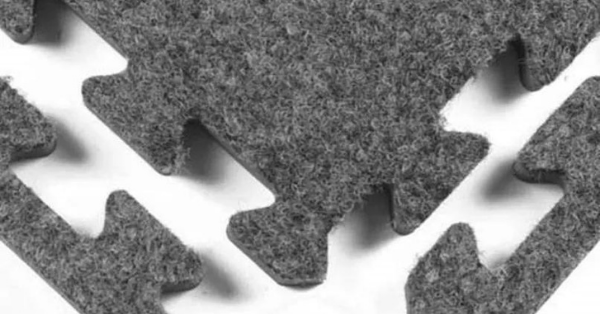
Joint and socket carpet tiles are the least popular and comparatively new type of carpet tiles. Some manufacturers are producing them as a test case. These carpet tiles have interlinked joints that are made to get stick with each other.
Required Tools and Material for Installation of Carpet Tiles
For your DIY installation project you will need the following material:
- Carpet tiles
- Utility knife or carpet cutter
- Graph papers
- Stiff paper or cardboard for templates
- Chalk lines
- Framing Square
- Measuring tape
- Vacuum or broom
- Level
- Pry bar
How to Install No Adhesive Carpet Tiles
You can use various methods to install adhesive-free carpet tiles. These tiles can be installed with minimum or no adhesive, and you can easily pull up and reposition the misaligned squares.
You won’t need specific tools and highly trained professionals for the installation. With the help of a tape measure, chalk line, a utility knife, and a carpenter square, you can easily install them by yourself. The following section is a standardized guide for you if you are going to install carpet tiles by yourself.
Step 1. Plan Your Floor and Purchase the Carpet Tiles
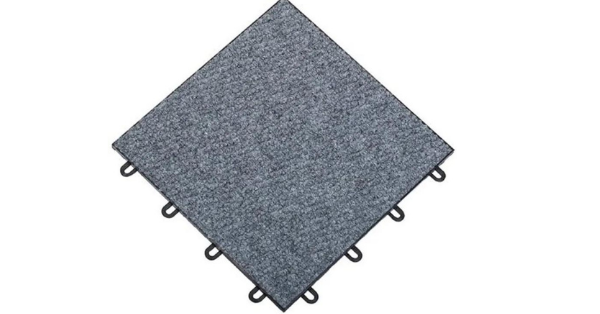
Choosing a design of the adhesive-free carpet is maybe the hardest part for you because practically there are unlimited options of carpet tiles are available in the markets. You have to select the brand according to your room. Different brands have different sizes of tiles.
First, you have to make a proper sketch of your room, preferably with color pencils and markers that will tell you about the exact requirement. After determining the precise size of your room, you should purchase the carpet tiles for you.
Step 2. Assessment of Existing Floor and Floor Preparation
Before starting the installation process, an assessment of the existing floor is quite necessary. As you can lay carpet tiles directly on cemented concrete as well as laminate some hardwood finished floors and vinyl and tiles. So you need to assess your floor according to your requirements.
After a careful assessment, you have to prepare a subfloor for installation. You should conduct a moisture test before carpeting. Existing sub-floors should be securely fastened, solid, and dry, and water damaged sections should be replaced before.
Step 3. Base Line Sketching and Installation of Carpet
Before you start installing carpet tiles, remove the packaging, and leave them in a room for 24 hours to become acclimatized.
After proper sweeping or vacuuming up the floor, draw down the sketch on the sub-floor. Start from the center of the floor, as it will guide the rest of the installation process. Make a proper baseline sketch without leaving gaps and lay carpet squares temporarily.
For a proper sketch, measure a midpoint of each wall and mark lines with chalk. In this way, you will get the four equal quadrants of room and an intersecting central point.
Start placing tile squares where the baselines intersect each other and work in an outward direction. Place the square in the corner of each of the quadrants. Directional arrows must remain on the back of tiles, pointing in a similar path.
When you are using peel and stick carpet tiles, peel off the film from adhesive strips and butt each tile firmly against the preceding one.
If you are using adhesive-free carpet tiles, you can use double-sided tape or liquid nails. You can place a strip of double-sided adhesive tape along the edges of the bottom of the first square. Use sticky tape on only every other carpet tile. They will lock the loose squares into place after completion.
Finish lying all the carpet tiles on the floor until you either need to cut the square to fit or reach the walls.
Cutting of carpet tiles can be tricky. You can use a utility knife, but for more precise and accurate cutting, always prefer a carpet knife. To avoid offline cutting, use a smooth surface like hardboard.
Step 4. Doorjambs and Corner Fitting
Installing carpets around corners and doorjambs can be the most challenging job of your whole installment project. To fit the squares around edges and doorjambs, first, make a cardboard or paper template. It will take several trail rounds of measurements and cut out before you develop a good fit. Once you get a fixed template, trace the same outline onto the bake of tile and cut it.
Conclusion
Although installing carpet tiles without adhesive is not tricky, technically, it is challenging because of the availability of unlimited variety.
Remember the fact; a professional carpet installer is not necessary if you have the right material and tools for laying down the carpet. These are the most comfortable floor covering to install because such tiles are provided in small dimensions.
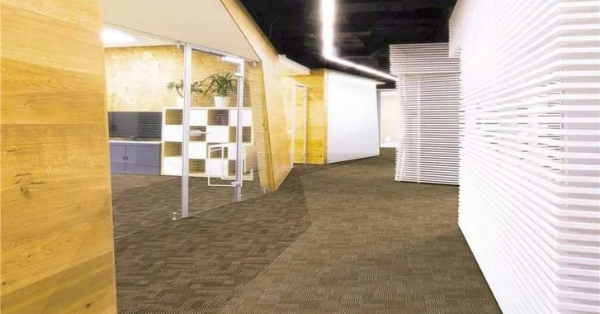
You can install adhesive-free carpet tiles yourself if you have a basic understanding of pattern and alignment of laying carpet squares. You can achieve a variety of design effects.
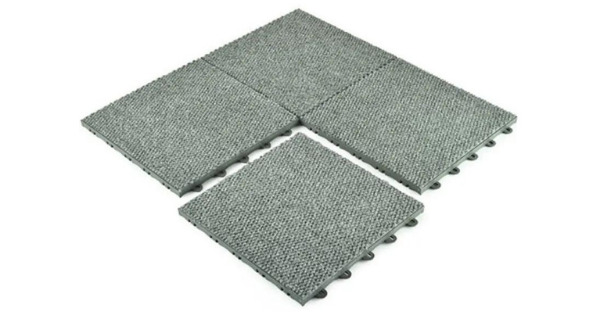
Furthermore, Adhesive free carpet tiles usually have shaped side edges that the squares interlock with adjacent tiles.
For the installation of carpet tiles, you need not worry about searching the best-carpet-installation-near-me as you can do it on your own.
