Shiplap has been popular in home interior since the 1930s. It consists of a series of horizontal planks placed on each other. A shiplap wall is generally 6 inches wide. Shiplap walls can make any room look larger than it actually is.
Shiplap wall sides have a 90 degree angled gap between the planks stacked on top of one another.
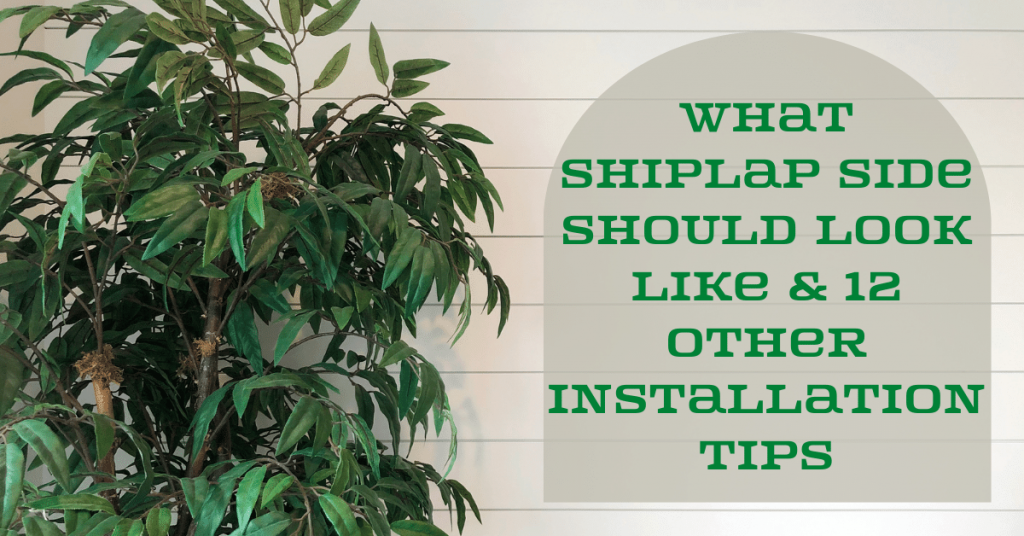
What Should a Shiplap side look like
Shiplap wall sides should ideally have a gap at 90 degrees between the horizontal planks placed on top of one another.
How to Install a Shiplap Wall
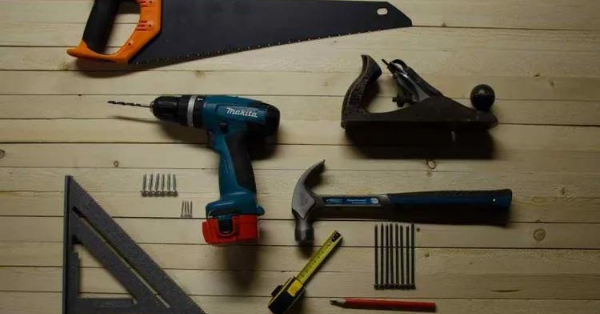
You will need to gather a number of different tools before getting started. You need to have a table saw, nail gun, measuring tape, primer, sandpaper and a jigsaw.
1. Find attachment points
The first thing you need to do is find the attachment points in your wall before stacking up the shiplap planks on top of one another. This process will require you to closely inspect your walls and mark them.
PRO-TIP
MAKE SURE YOU MARK YOUR WALLS WITH A PENCIL BEFORE INSTALLING THE PLANKS
2. Leave the Planks to Acclimate
Wood generally needs to be left for as long as 72 hours to adjust to any new environment. You will have to do the same with your shiplap planks. However, make sure your wood stays dry.
Close windows to avoid any excess humidity which may damage your wood.
3. Measure Your Boards
The next step is to start measuring your shiplap planks. This is a vital step that will ensure your shiplap walls look good. After you’ve accurately measured the boards, you need to start cutting the excess wood off.
4. Align the Boards
Now that you have cut the boards to the appropriate length, you will need to level the boards with the wall. You have to make sure your boards are set in a straight line.
If you’ve been successful with aligning your first board, go ahead and stack the rest of the boards on top until it reaches the ceiling or the mark you had placed on your wall.
5. Use a Nail gun to Hang the Boards
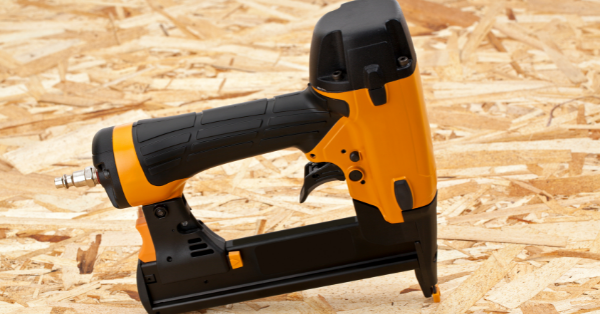
You will need a nail gun to screw the boards into your wall. You’ll have to screw nails through the long flange. Keep going all the way until you reach the board at the very top.
6. Fasten the Shiplap
Leave a gap of at least 1/16 inches between the butt joints. This is important since it ensures there is enough room for expansion of the shiplap boards.
7. Use a Jigsaw to Cut around Any Outlet
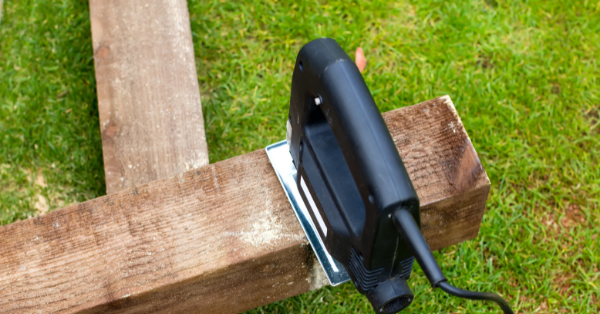
If any electrical outlet comes in your way, you can use a jigsaw to simply cut around it. You can drill a box around the outlet as well.
8. Add Furring Strips
Furring strips are generally used to level shiplap boards for insulation purposes. Does your shiplap run vertical? If so, it is necessary to add furring strips to the marked attachments with an interval of 24”.
9. Use a Table Saw to Cut the Final Plank
After reaching the end of the shiplap planks, you will need to cut off the final plank with a table saw.
10. Paint the Boards

It is finally time to paint your boards. Shiplap boards are usually painted white. Painting them white makes any room look larger and provides you with breathing space.
Use a mini roller and a paint brush to get started with painting your shiplap boards. Make sure you give it a smooth finish. Be careful with any drips or spills.
11. Leave Your Shiplap to Dry
Now that you’re done with painting the boards, you have to leave them to dry off. It is best to dry your shiplap using natural methods. Avoid using blow dryers or fans to dry the paint.
12. Customize your wall
You can now add home decor to your shiplap wall. Do not hesitate to hang your favorite mirror or painting over your shiplap wall. Go right ahead.
Conclusion
We have looked at how a shiplap side is supposed to look like and 12 installation tips. A shiplap side has gaps of 90 degrees between each individual plank stacked on top of the other.
If you liked reading about installation tips, head over to our post about carpet installation tools.
The 12 Carpet Installation Tools You Need to do it Right
Did you get a new carpet that needs installation? You may need some high-quality tools to make the task easier for you!

