When there’s a lot of traffic in a certain place, the road’s bound to get bumpy at some point. The same applies to your carpet. A home’s a rather hectic place to be most times, and there is only so much one can put up with until a bump in the carpet becomes a constant tripping hazard. And this is why you need a carpet adhesive?
The right way to use it is ensure carpet is suitable, spread the adhesive, unroll the carpet, flatten out the creases, and weigh down the corners .
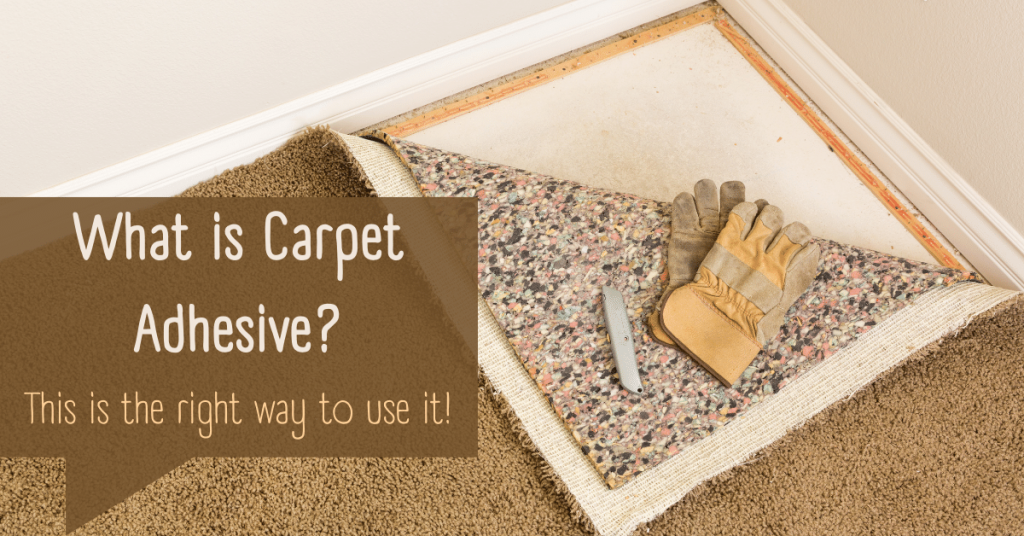
With that being said, let’s dive into the details!
WHAT IS CARPET ADHESIVE?
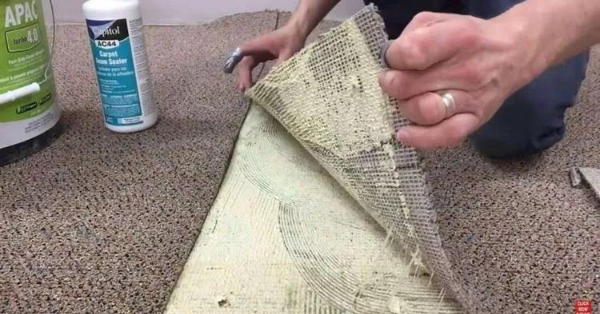
A carpet adhesive is a very strong glue that holds your carpet down onto the flooring. In fact, it’s so strong that you need a good amount of acids to break it down when you rip the carpet away. The glued down carpet won’t fare too well either during the removal process, so you better be sure about the choice before going through with this project.
The flooring also needs to be specific. Preferrably cement. It’s fine to do this on other floor types as well, but cement is usually a better candidate as it is easier to clean up.
Be sure to read until the end where I will discuss the drying process and the appropriate environment to work in.
GATHERING MATERIALS
Before starting any project, you must ensure you have the materials you need. This is a process that requires glue, so it is time sensitive. You absolutely cannot afford a ride to the store during this.
What you will need:
- Carpet adhesive
- A trowel (triangular spreads better)
- A strong board or block
- Weighted objects
Now that you’re prepared, let’s get on with it!
WARNING!
SAFETY FIRST
This is probably a no-brainer, but keep all children and animals away from the area for a good week while the project is underway and after it’s done. The fumes on the adhesive can be bad for their health. In this case, you should also wear gloves and masks, even open up the windows.
STEP 1: ENSURE CARPET IS SUITABLE
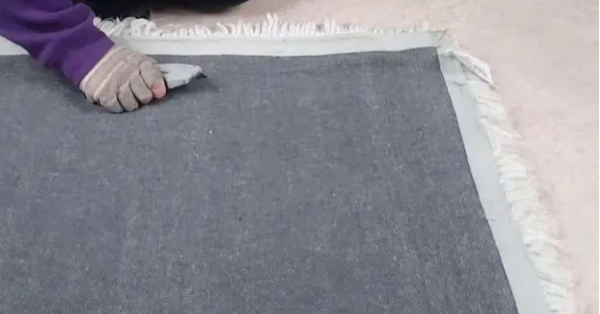
If your carpet does not have a seperate, tough layer underneathe, the adhesive will seep out onto the surface fibers. This will absolutely ruin your carpet, and the last thing you want is sticky feet or dried out matted patches.
Some carpets just do not come with backing for glue-installation purposes, so make sure you tell the store of the kind of installation you’re planning before your purchase.
Before you start anything at all, you want to make sure your carpet has had appropriate time to roll out and breathe, especially if it’s new! You can’t have random creases getting in the way of your work, especially since the glue takes a bit to dry. If any piece of the carpet lifts during the drying process, it is as good as permanent.
I always advise a patch test on a spare piece of carpet. Simply spread a layer of glue onto the piece and observe if the glue seeps through. Allow it to dry somewhere outside and feel across the surface. If all seems well, you’re ready for the next step!
STEP 2: SPREAD THE ADHESIVE
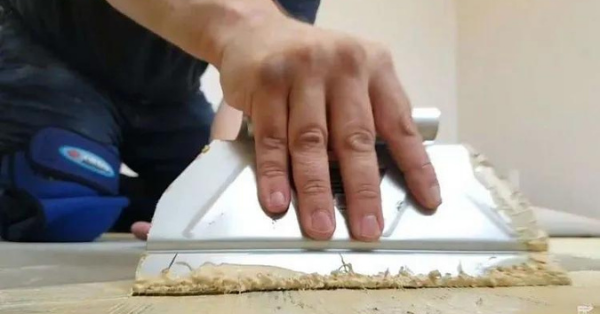
Before pulling out the big guns (or the barrel in this case), your carpet needs to be rolled up with the free edge flush against the edge of the wall. Of course, your carpet should be rolled in a way that the underside of it is on the outside.
PRO-TIP
WORK IN SECTIONS
Doing this project requires time and stamina. If you rush it by doing it all at once, it will end up with some accidents (most of which can’t be undone). Work through the carpet piece by piece.
If your room is rectangular, I suggest unrolling the carpet across the longer part of the room. Spreading glue across the shorter length of the room is quicker and easier.
As mentioned in the pro-tip, work in sections . You will pick up your trowel and dig into the glue, spreading a thin and even layer of glue on the ground. It should be about three feet wide.
If you’re looking for a good carpet adhesive to buy, check it out here .
STEP 3: UNROLL THE CARPET ONTO GLUE
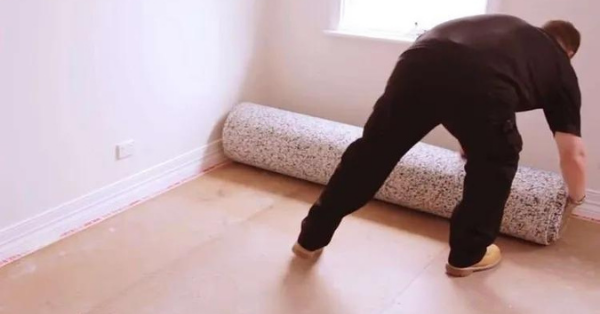
Carefully roll the carpet onto the glue. Work steadily and make sure your carpet isn’t unrolling out of the axis.
You can make sure your carpet is rolling straight ahead by keeping your eyes on the edges. There is still time to adjust any misalignments.
Before proceeding any further, make sure the beginning of your carpet still meets the edge of the wall and adjust any misalignments accordingly.
STEP 4: FLATTEN THE CARPET
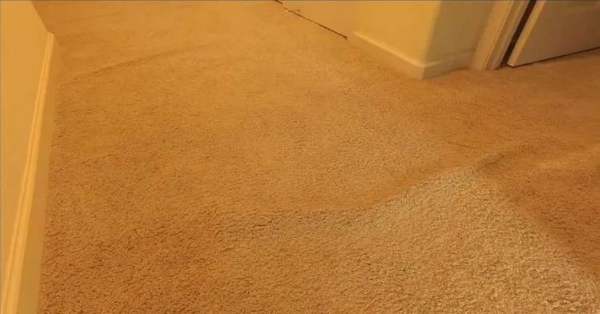
Use your board or block to push onto the carpet firmly. This will force out any air bubbles and random creases in the carpet.
Depending on your carpet type, you might not want to scrape the board against the carpet’s surface. You could damage the fibers. Instead, pat down onto the carpet and feel around for any bumps. Press down firmly until you end up with a smooth walking surface.
Once you’re satisfied, proceed with the applying the next section of glue and working onwards until the whole room is covered in your carpet.
When done, you can go back to the edge where you started and glue that down carefully.
STEP 5: WEIGH DOWN THE CORNERS
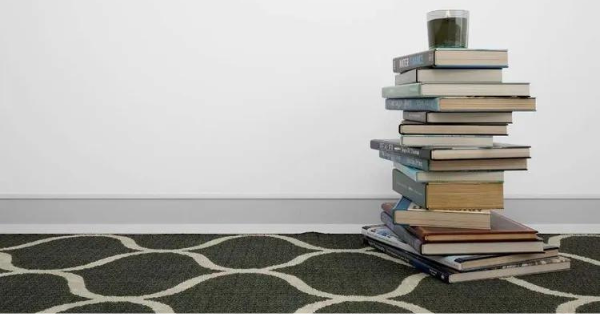
The corners of your carpets will curl up. Make sure that you weigh them down after applying the glue.
In fact, take the oppurtunity to weigh down any areas that show signs of rising and bending. Make sure you flatten out the surface first and push out the air bubbles from the nearest edge.
Now that your carpet is neatly glued onto the ground, leave the windows open and close the door for a few days. It’s going to smell, and you don’t want your pets and children in there as the fumes are quite toxic.
BEST ENVIRONMENT TO WORK IN
The aim is to get the glue to dry as soon as possible. Two things factor into quicker drying and curing of the glue:
- Thickness
- Temperature
- Humidity
Higher temperature and lower the humidity will allow your carpetadhesive to dry and cure much quicker. You don’t want your glue application to be too thin, but it shouldn’t be ridiculously thick either.
Even after it has dried, you still want to wait a good day or so before bringing in your furniture into the room. Better yet, just wait a week until all the fumes and odor have left the room.
CONCLUSION
And there you have it! The right way to install your carpet with an adhesive and making sure it lokos great! All you have to do is: ensure carpet is suitable, spread the adhesive, unroll the carpet, flatten out the creases, and weigh down the corners .
I hope this was helpful and makes your home renovation not only fun and quick, but also safe.
