Are you thinking about stretching your floor carpet? Are you looking for a step by step guide on how to do that? You came to the right place! Stretching your carpet often is recommended because of all the benefits it has. Some of those benefits will be duly discussed in this post.
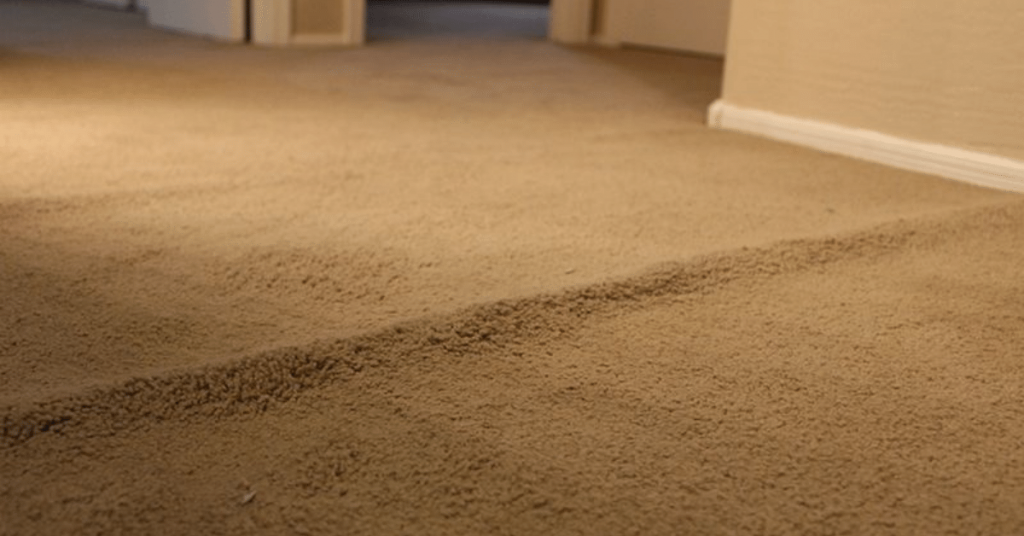
Carpet Stretching is the technique that allows a carpet with wrinkles, lumps, or damaged areas to go back to its original position. Carpet Stretching is necessary because all carpets develop wrinkles over time.

This ultimate guide will help you understand Carpet Stretching and why it is done. You will also learn how to stretch your carpet the right way. What’s more, you get to save yourself the extra cash doing it yourself by following the easy steps outlined in this post.
And if you’d like to know more about why your carpet is bucking or stretching, this is a guide that might help you:
Why Your Carpet Is Buckling? 6 Reasons and How to Fix It
If your carpet is buckling or wrinkling it can be to one of these 5 reasons. But whatever the cause, there are 2 easy ways to fix it renting or buying a couple of tools.
Why Do We Stretch Carpets?
Your carpet will be in good condition and look good to some extent if you clean it properly regularly. Nevertheless, it will become wrinkled as time goes on. Some of the causes of wrinkling in floor carpets and the reason for stretching include sliding of heavy furniture across the carpet, excessive wear, and deterioration.
Sliding of Heavy Furniture
Carpets are typically made from layers of heavy fabric and sliding heavy furniture over it will cause it to snap out of place, thereby causing wrinkles and a rippling effect on the surface of the carpet. This is by far the major cause of carpet wrinkling in homes.
Excessive Wear
Even though a floor carpet had been expertly installed, exposure to heavy foot traffic -especially in areas like the stairs and living areas- will cause it to become loose and even wrinkled.
Deterioration
Latex and adhesives are sometimes used in backings of most carpets. When they deteriorate, buckling is sure to happen. This will cause the carpet to lose its initial state and thereby require carpet stretching as a remedy.
Regardless of the quality of your installed carpets, the occurrence of these above-mentioned problems could adversely affect the longevity and appearance of your carpet. Luckily, carpet stretching is the perfect remedy.
Tools for Carpet Stretching
Knowing the right tools to use and how to use them is essential in carpet stretching. The process may become energy-draining if the right tools are not used. Below is a list of all the tools required for carpet stretching.
– Power Stretcher
– Staple gun
– Knee Kicker
– Pliers
– Work gloves
– Utility knife
– Flathead screwdriver
– Pry bar
Carpet Car Stretching Step by Step Guide
At this point, you are ready to get on with the carpet stretching process. Ensure to follow the under-listed steps accordingly to ensure that the carpet stretching is done accurately and without hassles.
Step 1: Clear the Carpet Surface
The first step in this process is the removal of every piece of furniture from the room where you have the carpet that needs to be stretched.
You may decide to work around excessively heavy pieces but if you have the means to remove it, please do. For better result, it is advisable to vacuum the carpet thoroughly and even apply shampoo –if need be- to remove any dirt on the surface of the carpet.
PRO TIP
GIVE IT SOME TIME
If you decide to shampoo your carpet, ensure that you allow it dry completely before stretching.
Step 2: Unscrew and Lift off the Carpet.
There may be tack strips holding down your carpet at the edges, be sure to look out for them. Put n some work gloves to protect your hand especially during this step. Grab the carpet at one corner and gently tug it away to free it from the tack strips.
If they prove to be difficult, grab your pliers. While tugging at the carpet, do it gently so that the fibers of the carpet don’t end up frayed.
Once the carpet is completely free at one end, pull it upwards and it should begin to pull away easily like a zipper. Be careful to observe whether there are any staples or tacks holding the padding to your carpet. If you notice any staples, pry them out with flat head screwdriver and pliers.
WARNING!
A very important thing that should not be taken lightly during the process of carpet stretching is the need to have at least one corner of the rug in place as an anchor. While you lift the carpet off the ground from the other three corners of the wall, ensure to leave the fourth corner in place.
Step 3: Clear the Floor
Like installing a carpet the first time, it is always expedient to clear the ground of any dirt before the laying of the carpet. After pulling up your carpet from the ground, your floor will be exposed and you will find dirt that has accumulated underneath the carpet with time.
With the help of a vacuum cleaner, clean the visible debris on the floor as well as every splinter or staple is left from pulling off the carpet from the ground.
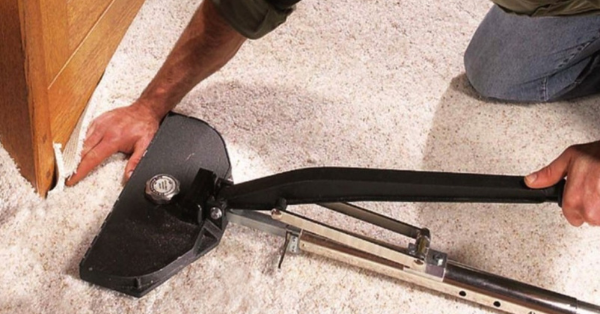
Step 4: Use Your Power Stretcher
Using the power stretcher isn’t as technical as it seems. Start by placing the power stretcher at one corner of the room, the same corner that was left stapled as an anchor. Position the base of the machine against the wall and extend its rod until the head of the stretcher is about 6 inches away from the wall.

Press down the lever of the stretcher with the tooth-side down and push across gradually –but firmly- to smoothen out the wrinkles and buckling. If pushing down the lever requires extra pressure from you, you are probably overstretching the carpet. Similarly, if it all happens too freely with little or no effort, then you are probably not stretching it enough.
WARNING
PUT YOUR BACK INTO IT
If adequate pressure is not applied to stretch the carpet, there’s the tendency that the wrinkle will return.
Step 5: Stretch More with a Knee Kicker
If the room with the carpet you are trying to stretch is too small for the power stretcher to fit, you may consider using the knee kicker.
It is smaller in size than the power stretcher and it also comes in handy when extra finishing needs to be done after using a power stretcher. It could be used to further smooth some tough areas after carpet stretching.
Step 6: Trim off the Excesses
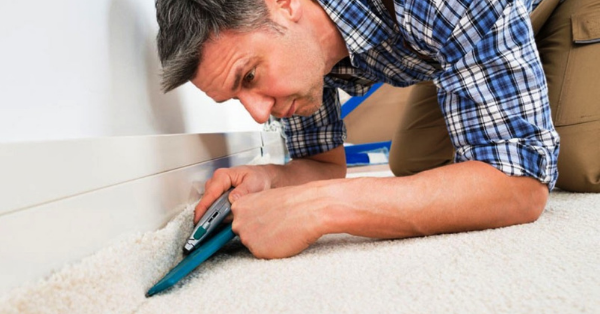
Cut away any excess carpet material after adequately stretching it across the floor. This excess is usually due to an extension of the carpet due to the buckling and wrinkling.
Using the utility knife, trim away the excess materials, leaving just enough to tuck under the baseboard. Using a carpet cutter is more appropriate but in the absence of a carpet cutter, use the utility knife with caution so as not to over trim.

Step 7: Seal up the Carpet
This step brings us to the completion of the carpet stretching process. Now that the carpet has been stretched and the wrinkles are gone, it is now time to seal the deal. Start by clipping the carpet unto the tack strips and finish off by stapling the carpet to the padding.
Transition molding can also be employed to conceal carpet seams especially if you are stretching a carpet over doorways. They are usually nailed over the carpet in the doorway.
Do I Need a Pro?
Hiring the services of a professional for your carpet stretching can be helpful because even though you can do it yourself with the steps discussed above, the carpet stretching process requires time and effort. The professional has some experience and a certain level of expertise.
Besides, he also has the essential tools for the job which may not be readily available to you.
Conclusion
Carpet stretching, when done properly will both extend the lifespan of your carpet and eradicate the possibilities of eventual tripping hazards caused by wrinkled or loose carpets. In addition, you get to save more money in the long run since you will not need to replace your carpet completely.
If you are still confused about carpet stretching or you want a professional to do an expert job for you, we have a post right for you! ( click here)

